Monday, May 5, 2014

Oh The Chaos!

You probably guessed from the post title what I'm going to talk about. If you're a regular reader (thanks for that btw), you would also be wondering where I have been. Let me elaborate! You see, the thing is, I found myself in circumstances such that I found myself appointed Queen of Chaos-land? And if were to be Queen of some "land" then Chaos-land would not be it! 

Did I mention I was moving? I probably did. But did I also mention that I had a major test two days prior to it? I also got the flu at this time. Indian Electricity board turned out to be a fair-weathered friend and I almost got evicted due to a misunderstanding. I almost lost most of my life savings due to the said misunderstanding (Insert shock smiley). What can I say - when it rains it pours!

Fortunately, certain insightful (and less freaked out) people around me were able to stay calm and we were able to sort the mess out before the shit hit the fan. Now that its ironed out and I am officially done moving (First major home move - LOT of learning) and gotten rid of the flu, I finally got to the point where I can appreciate my new home, to put it mildly. I'm basically going crazy with ideas on how I can jazz it up! Some of them, which I thought were simply G-R-E-A-T, were immediately shot down by The Family as being too "ridiculous" or "weird" (Someday!) - we'll get to those later.

Meanwhile, check out the photo barrage that has me wanting to go all Energizer-bunny on the house ;) Probably not all-applicable, but inspirational nonetheless. Click on images to go to their source.





- Cheers!


Follow my blog with Bloglovin

Friday, April 25, 2014

DIY : Floral Headband / Flower Crown

As you know, come Spring, I've taken a liking to floral headbands that seem to be everywhere. Now that I've finally come up with one that may be worn without looking too much out of place here. I absolutely fell in love with the River Island one and decided to do one much like it, except with grey pearls. Check it out!

Here's what you'll need:
  • A strip of leather or PU (called Rexine in India)
  • Elastic cord
  • A few pearl beads - I used grey
  • Old eyeliner that's not black!
  • A needle and black thread
  • Fabric Glue

Step 1: Trace out rough outlines of your flowers onto the back of the leather fabric with the eyeliner. I used two flower shapes.


Step 2: Cut out the shapes with a sharp scissors. You'll need around 10 flowers in all.


Step 3: Cut out a length of cord about the circumference of your head by stretching it around your head. Leave about an inch extra on each side.


Step 4: Super impose the flowers one upon the other and stitching together the flowers, pearls and the cord.


Step 5: Seal the stitched flowers with a dab of fabric glue.


Step 6: Continue stitching the flowers to the pearls and the cord.


Step 7: Now place the last inch of each cord end into an inch-long rectangular piece of PU. Add glue, fold over the PU and stitch away.


And there it is - the floral headband! Don't worry about the silvery stuff, it'll fall off. Sorry for the bad photos guys! As you can see, I'm desperately in need of a new camera :-/


Try  to overlook the freaky factor in the above picture! :)


Tuesday, April 22, 2014

Curiosities Around the Town

I have a couple of big projects in the brewery at the moment. Add that to the seasonal allergies and I'm left without a moment to craft. It doesn't help that I'm moving soon and I'm just bursting with ideas for the new place!

Meanwhile, I though I'd share a few things I found in and about that caught my eye.


The tattooed fish I was talking about here


The most perfect little cupcake I've had in a while


Beautiful mirrored garland on a patterned cement wall - DIY Inspiration


Delicious Biryani


Flower Rangoli at a random floor of my work building


A friggin'  lone horse near my street :O


A special celebration for a completed life goal :)

- Cheers!


Thursday, April 17, 2014

DIY : Jewelry Recycle Series Part 4 - Anthropologie Double Pearl Collar Necklace

I've been feeling under the weather lately. Coming down with a cold and flu in the middle of tropical summer in all its glory makes one question their immunity and randomly curse things. Which is why I'm not going to say much today, except that this song has been playing in my head non-stop.

Since you have seen how I've been going nuts over pearls lately,I'm going to jump directly to this recycled DIY Anthro Double Pearl Necklace! This is the one that had me going:


Here's what you'll need:

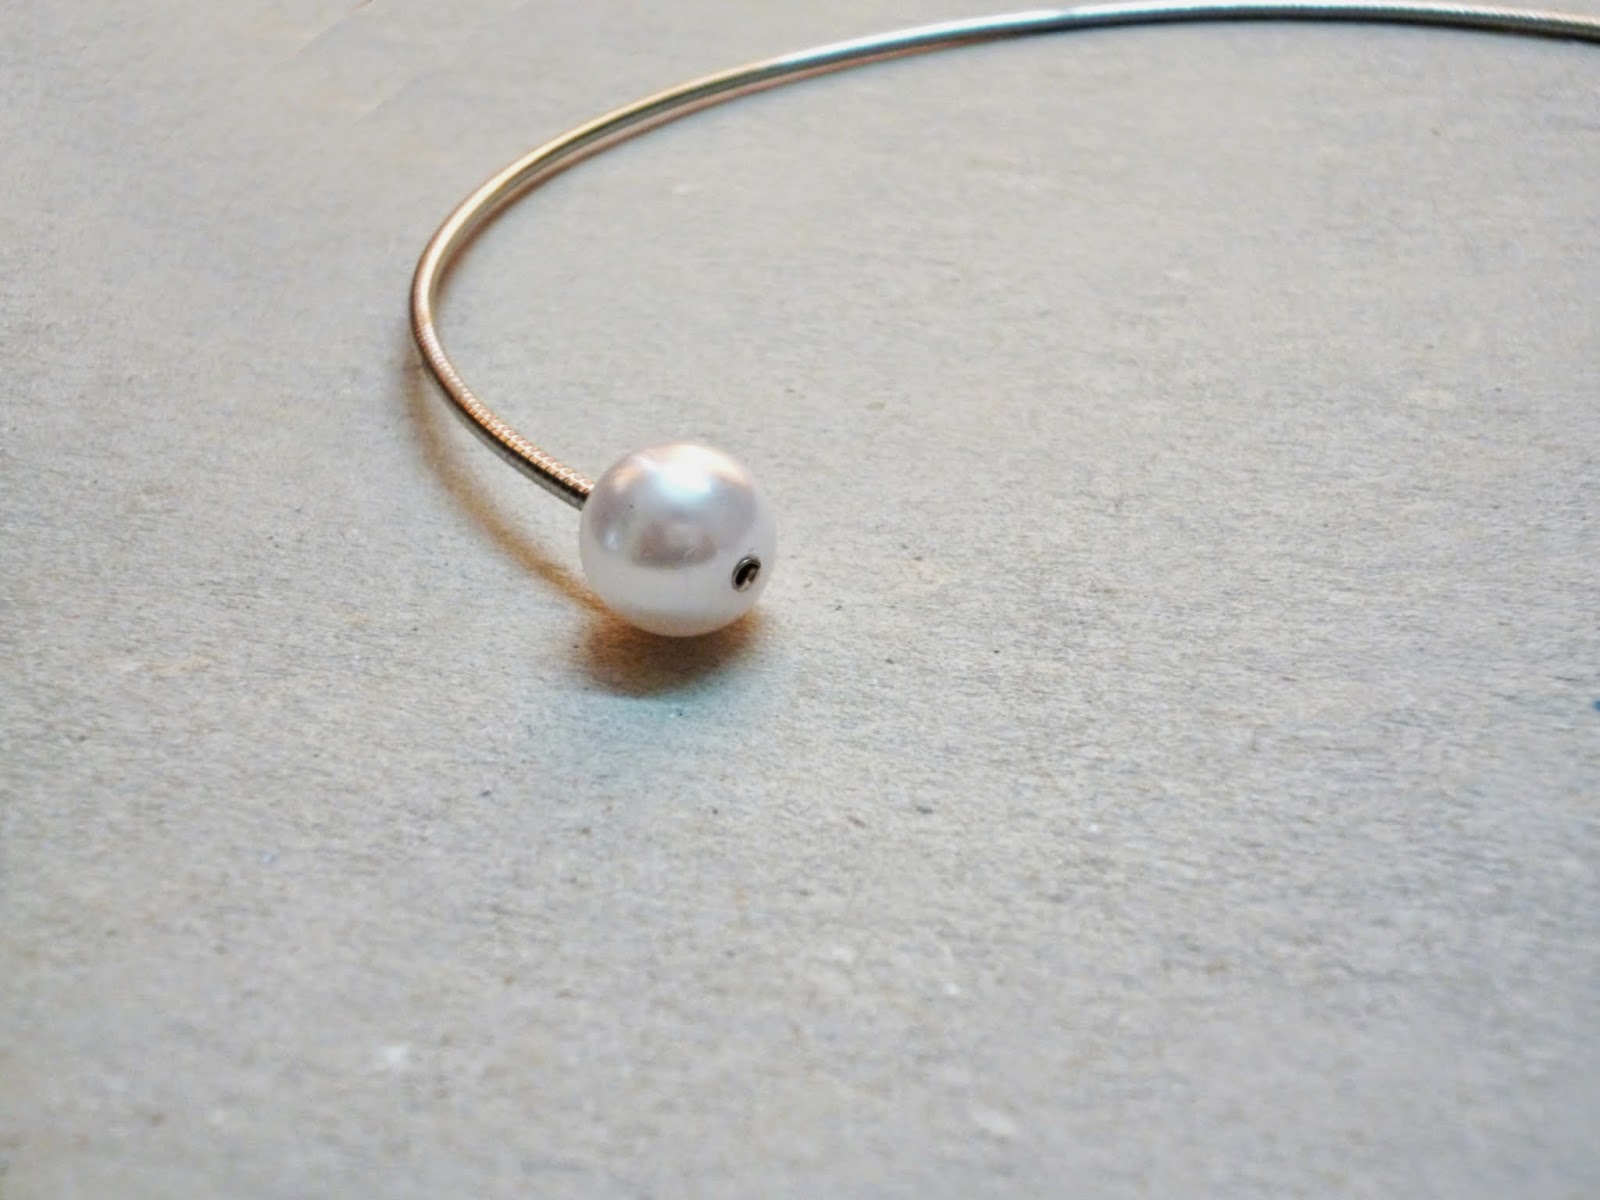
  • An old choker necklace without its slide or pendant.
  • 2 large reclaimed pearl beads
  • Jewelry cutter and plier
  • Super glue (or E6000)

Step 1: Remove the end clasp and chain from the collar wire with the plier


Step 2: Cut off the ends with a heavy duty wire cutter or jewelry cutter


Step 3: Put a drop of glue at the exposed end and spread in a line, about the size of the pearl, with a toothpick


Step 4: Push the pearl through the end of the collar up till the end is just seen through the other side of the bead.


Step 5: Do the same for the other end and there you have it!


On the bright side, for once, I can see as many movies as I want!

-Cheers!

Sunday, April 13, 2014

DIY : House of Harlow Inspired Safety Pin Necklace

I've seen a lot of safety pin art jewelry off late, and frankly, that's inspiring for a recycle-ista like me - Another source of getting close to the latest fashion and beautiful art easily and economically :) While I've come across many a high-end designs involving intricate, gold-plated work, I decided to start simple with the unique and beautiful inspiration below.

Check out this gorgeous delicate safety pin necklace by House of Harlow:


Here's what you'll need to make your own, albeit customized, version of it:
  • A safety pin, any size
  • Length of chain
  • Jump rings, 3mm and 6mm
  • Chain clasp
  • Tiny Swarovski rhinestones (I used Ocean Blue)
  • Instant super glue (or E6000)

Here's how:
Step 1: Put a drop of glue with a toothpick on any side of the safety pin head. Start placing the rhinestones on it carefully.


Step 2: After you reach about halfway, put a drop of glue on the other half of the safety pin. Spread with a toothpick.


Step 3: Once the top of the safety pin has been covered, cover the sides with rhinestones. Allow sufficient time to dry.


Step 4: Attach the smaller jump ring to a chain end and attach this to the safety pin loop.


Step 5: You'll have to follow a slightly different approach for the pin head. Attach a jump ring to the other chain end and insert over the open pin as shown.


Step 6: Close the pin, twist the jump ring under the pin head. Seal with a drop of glue.


Step 7: Cut the chain in the middle and attach the clasp and larger jump rings.


And there we have it!


Layer with other delicate jewelry for interesting effects.

--Cheers!