Showing posts with label Boho. Show all posts

Wednesday, April 20, 2016

DIY 3D Phulkari Wall Accent Art

Hello Lovelies! Hope you doing great in the year 2016! 

While life has been happening as it does, I've been into a lot of DIY projects too, especially those with local influences. In order to not stick to my current annual schedule of posting, I want to get to sharing recent projects with you all right away. :)

While I have become somewhat a pro at moving locally, the move across countries has been a whole other story. It is exciting for so many reasons least of all being a complete overhaul to one's DIY ideas and opportunities!

So, today we are going to talk about how one can put some life in those boring blank corners of the home you so cherish, when one is neither particularly inclined to be indulgent with time or money - especially when one has a stash of beautiful, sentimentally valued, fabric that was partially ruined in the Great First Floor Flood of 2015 (Another story for another day!).

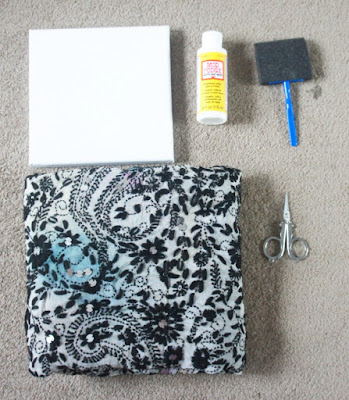
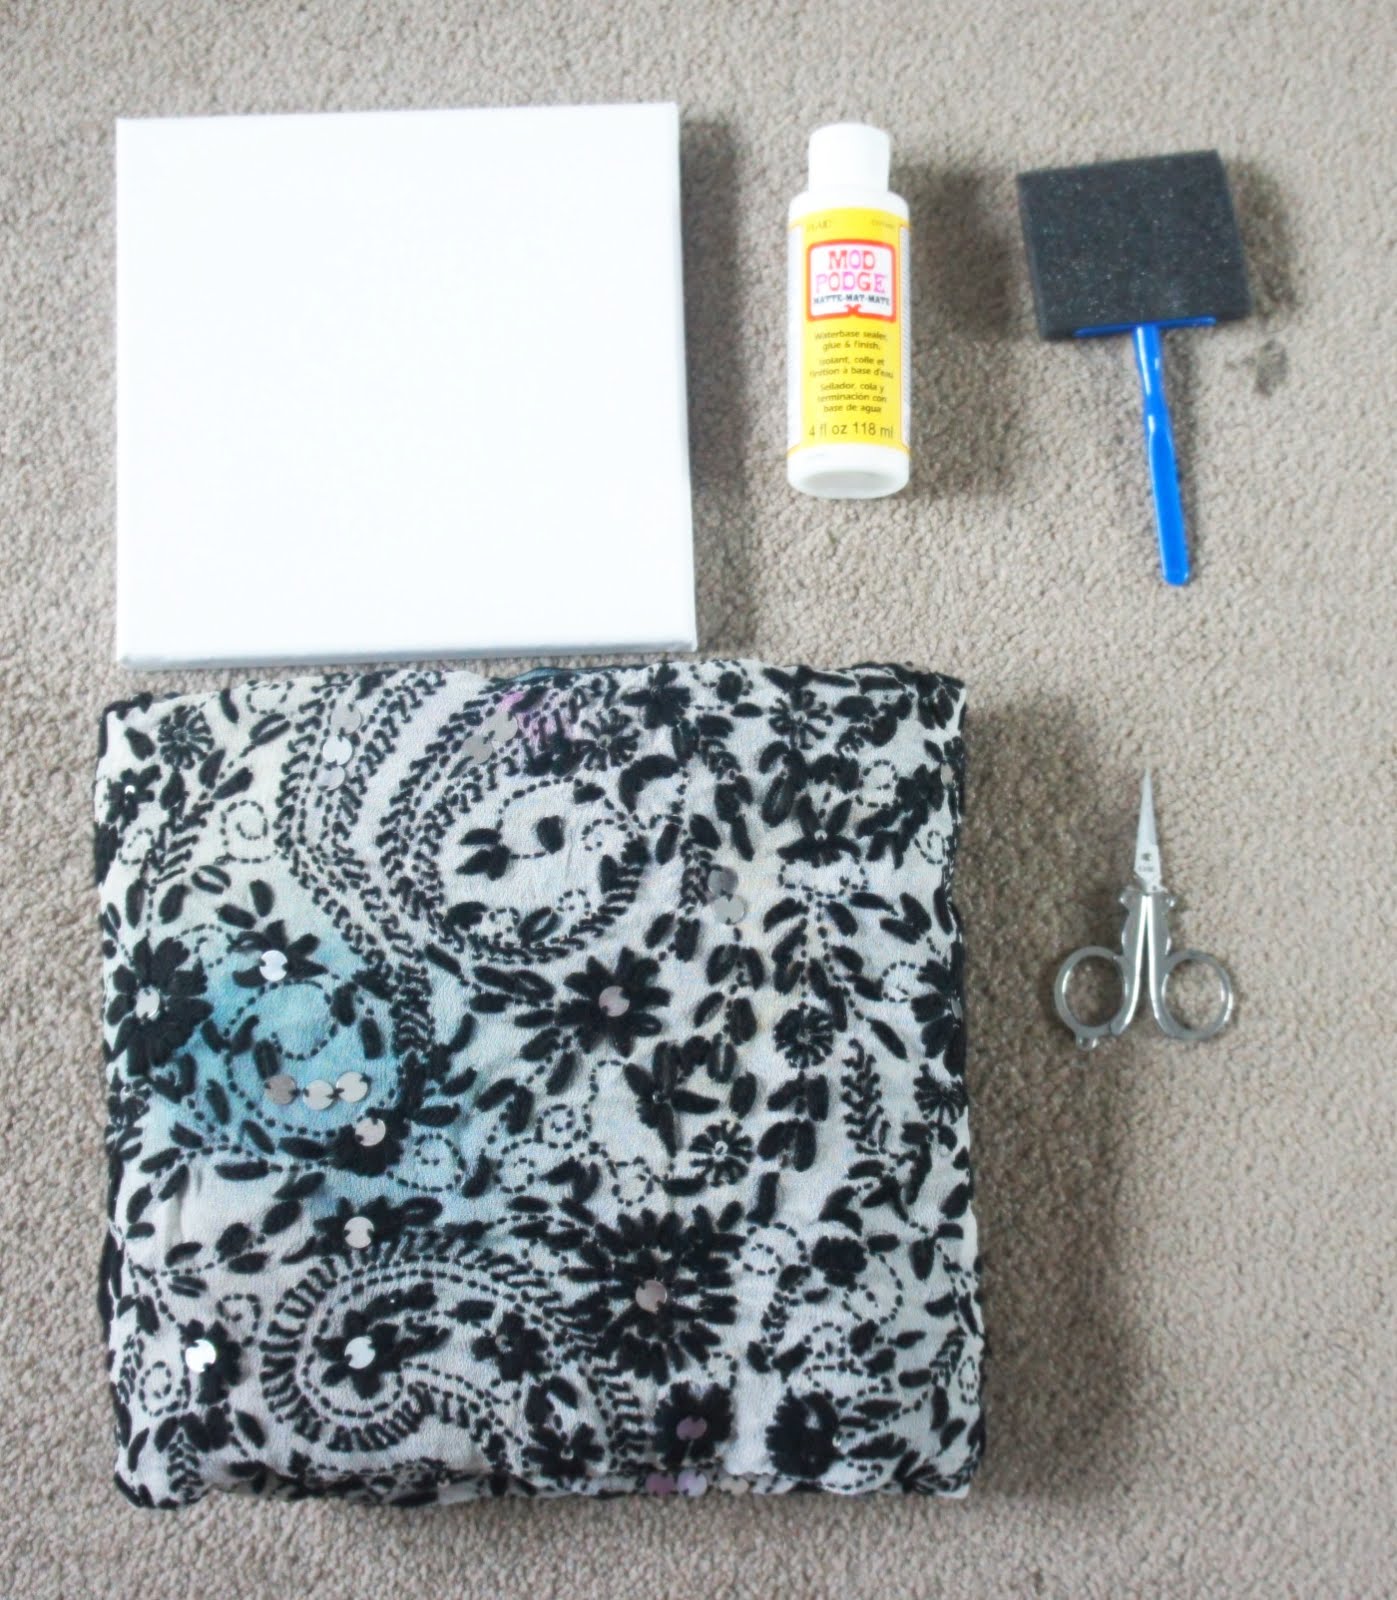
Here's what you need:

  • A blank canvas (any size)
  • A beautiful piece of embroidered fabric (Can you see the ruined blue patches?)
  • Mod Podge Matte, or any decoupage glue of your choice
  • A foam brush
  • A sharp pair of scissors
  • Chalk paint (optional)

Step 1: Cut a piece out of the good fabric portion around the canvas, leaving a margin of about an inch

Step 2: Cut the corners of the fabric square diagonally for an inch, up till you reach the canvas. Ensure that the fabric is laid as flat as possible before you do this


Step 3: Apply a thin, even layer of Mod Podge across the canvas. If you like your canvas to be fully covered, apply on sides at this point too. Else, exclude sides.


Step 4: Pull the fabric slightly taut and lay it flat on top of the canvas after about one minute of applying the glue.Press lightly on the fabric to ensure you get a even "stick".


Step 5: Without waiting for it to dry completely, apply another layer of Mod Podge on top of the fabric and press evenly down. Wait up till completely dry i.e when the glue becomes clear.


Step 6: Now cut the fabric at the edges of the canvas in a straight line and remove any extra threads that hang out due to the embroidery. Glue down the edges if required.


Step 7: Apply two layers of the chalk paint of your choice all around the edges and let dry, This could be a really fun step with contrasting or even neon paints up the sides of the canvas for accented decor!


Step 8: Apply a final layer of Mod Podge all over and let dry completely. Hang to please!


Cheers
-JE

Thursday, July 10, 2014

DIY Faux Precious Rock Bangles

I've been swooning over delicate, semi-precious jewelry lately. Its so much fun to see how semi-precious gems can literally make any piece of jewelry look good. Add in a touch of gold to it and I'm hooked! Pretty stuff everywhere and not a thing to buy! (Damn you resolution :( )

And so I went through the usual routine, (You know the one - dig, dig, dig, surprise and AH-HA!) and found these cute rock beads that I had been saving for a while and decided to finally do something with them.Their pastel-y shades made the perfect compliment for delicate gold bangles. It was done a few days ago and has finally made it here.

Here's what you'll need to start with:

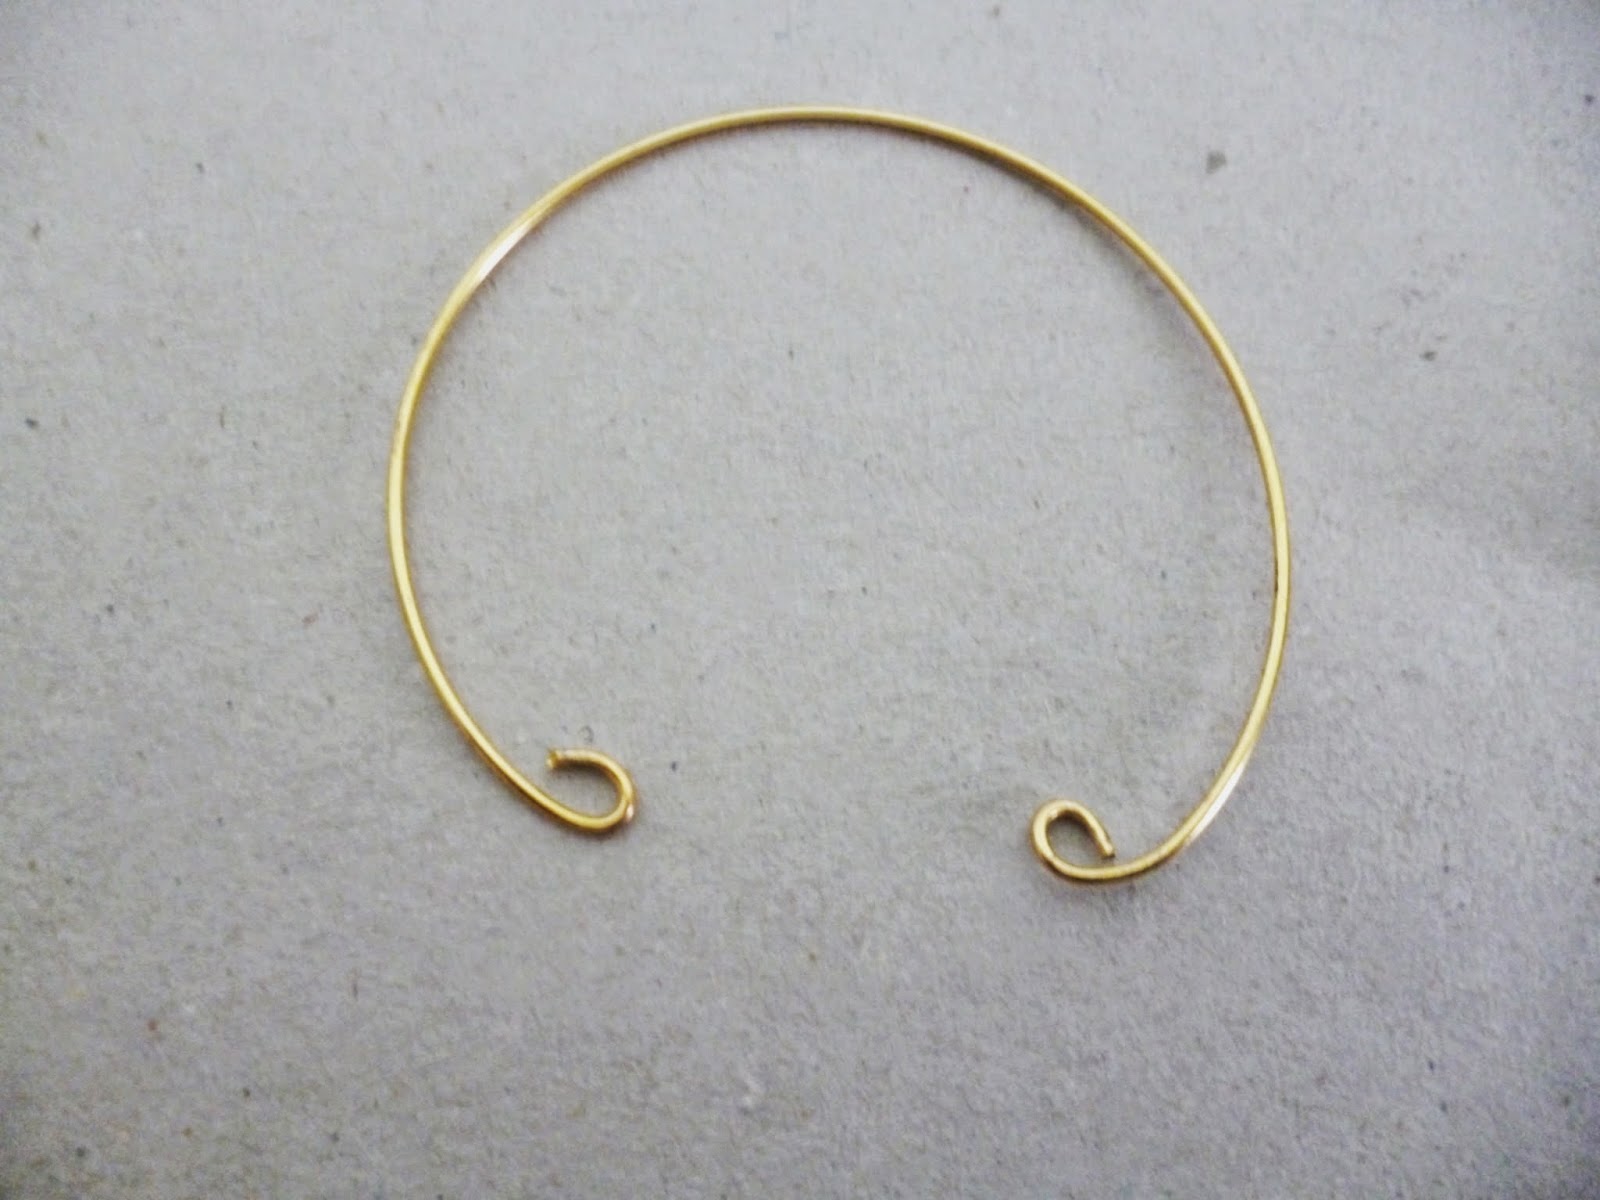
  • Memory wire - gold
  • Beading wire - gold
  • Beads of your choice
  • Beadcaps - 2 for each bead


Here's how you can do it:

Step 1: Gently press the beadcaps over the ends of the bead and insert a length of wire through it.


Step 2: Now cut a sectional loop of the memory wire and bend it with small loops as shown.


Step 3: Twist the looped ends up and down, in opposite directions, till they lie flat on your wrist.


Step 4: Now there are two ways you can do this step. You can either directly wrap the beading wire into the bangle loops like this.


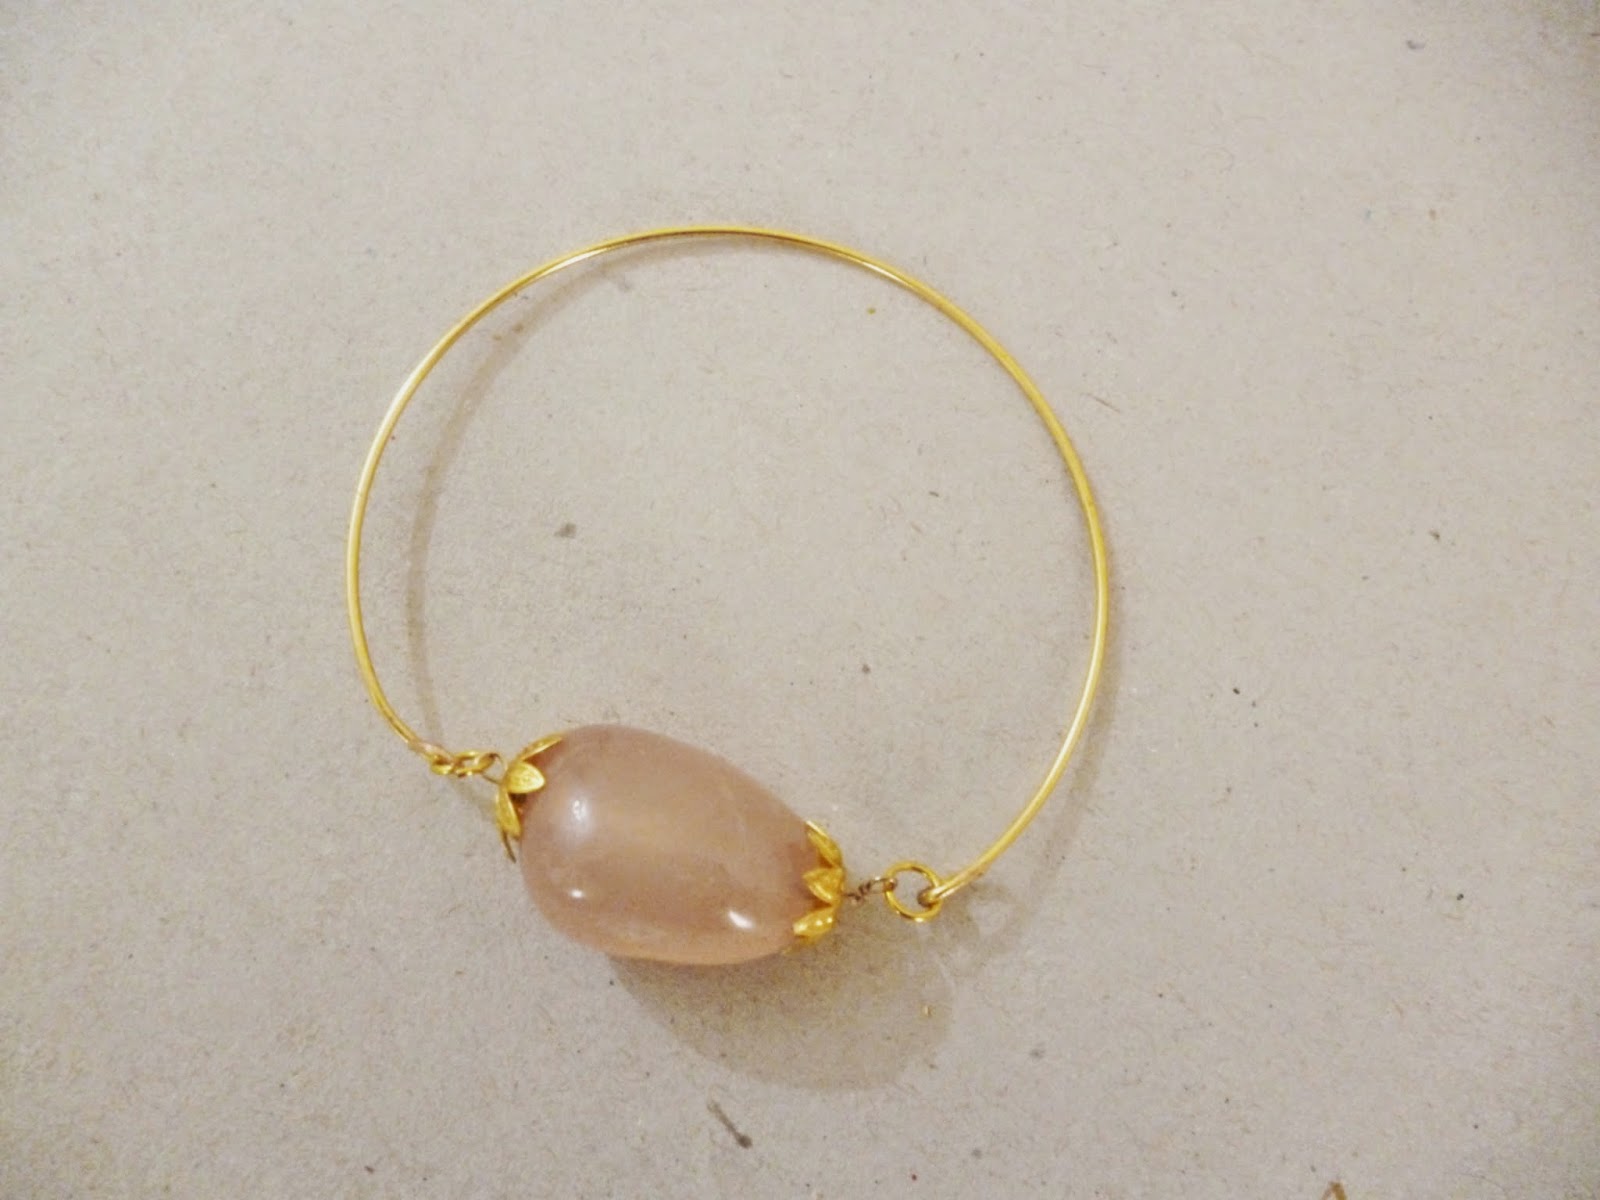
Or you can twist the wire upon itself and insert via jump rings like this. This method gives more flexibility to change your beads and bangle design later.

And voila, you have your rock bangle!


Do the same for the other beads and you have your stacking set :)


What say?


Friday, May 30, 2014

DIY : Yarn Tassles

As you all probably know, I've been obsessed with tassels and fringes lately (See here). While there are many, many ways I want to get tassel-fied, it seems like making one's mind is so not an easy job when one is crazy about something (Read: Aztec tattooed fish). Therefore, a wise man once said "one step at a time", and I thought, "Why not".

So, will start with just making the tassels for now. Will think about where to put them later. "The House of Crap" (as my family puts it) did spit out some old yarn that was never used. Btw, I'm so going to lose that name by the end of this year! More on that later.

Here's what you'll need to make your own tassels:
  • A thin cardboard box/piece about the size of tassel you're going for
  • Yarn, proportionate to the number of tassels you want
                                        
That's all, really!

Here's how you can do it:
Step 1: Wrap the yarn in loops around the box to obtained the desired thickness. Around 40 loops give a medium thick tassel.


Step 2: From the remaining yarn, snip off a foot and fold in half.


Step 3: Slide the folded end under the wrapped yarn and push to the top of the wrapped section.


Step 4: Make a tight double knot and cut the folded end of the foot-long piece of yarn.


Step 5: Slide out the non-knotted end of the wrapped yarn and cut it in half.


Step 6: Fold the two ends of yarn over and insert another foot-long piece folded in half behind it.


Step 7: Make another double knot.


Step 8: Wrap the ends of the knotted piece around the neck of the tassel and tuck.


Step 9: With a sharp scissor, even out the bottom of the tassel.


There they are! Hell-o summer!


Monday, May 26, 2014

DIY Inspiration : Fringes and Tassels

I've been wanting to make something with tassels and fringes for quite a while now, but somehow I haven't been able to get around to it. So you can imagine the torture that ensues when gorgeous creations with max inspiration potential are encountered, but with no chance to make them! (Arrrrrghhhhhh!!)

Eh! It'll happen when it happens :) Meanwhile, thought of sharing some simply beautiful works of art by talented artists out there. Click on images for source info.


Especially love this bag!


Marc Jacobs loves tassles too


Super awesome gypsy art


These ladies created something wonderful!


Next three pics are my favorite


Thursday, January 30, 2014

DIY Wallet Revamp

Oh wallet! How I love thee wallet! Why do you have to age wallet?

I got my favorite wallet as a birthday gift 3 years ago. Its not fancy-fancy, but something I could carry everywhere without being too offensive.

Look how pretty!


Years of daily use and the many, many unsuccessful attempts to clean it took a toll of my wallet's life and I had to replace it (:(). Of course, I didn't throw it away (never dispose, never!) and it quietly became another addition to the make-my-home-a-museum-of-curious-paraphernalia project.

Until recently, I stumbled upon it and thought "This could go well with my current colorful, ethnic madness".

If you are on the same train, then here's what you need: (Also, <3)
  • A beloved old wallet
  • Trims and laces of your favorite colors and varying thickness
  • Fabric Glue (here)
  • Leather needle (Optional)
  • Super Glue (Optional)

Here's how to do it:

Step 1: Cut out the trim of your choice to the length of the wallet, leaving an extra half inch on either side.


Step 2: Apply the fabric glue and carefully set to align with the edge of the wallet flap.


Step 3: Continue attaching trims you like one after the other up till the flap and back of the wallet are fully covered. Go nuts here, seriously!


Step 4: Fold over at edges underneath the flap and folds of the wallet and seal with super glue. You can also add a few stitches here and there for better sealing.


Step 5: Cut out the pom pom trim according to the length of the zip and the flap.


Step 6: Attach the final trimming inside the zip fold and underneath the flap of the wallet.


And the sad old wallet has reinvented itself to something I can actually use - what do you think?