Showing posts with label Jewelry. Show all posts

Sunday, December 21, 2014

DIY Jewelry Recycle Series : Part 7 - Extender Bracelet Watch

It's been a while since I have gotten a moment like this. In the fast blur that is life sometimes, there is something very rare and precious about the odd moments that come by that one has to do absolutely nothing. It is truly a time of peace watching the shortest day of the year pass by, while listening to the far away sounds of neighborhood kids playing cricket and sipping hot chocolate. 

More on that later - for now let's just ring in the New Year!! What do you do with a beloved watch with worn down straps that just won't get replaced? Well....

What you'll need

  • Your favorite watch dial
  • The bracelet you never wore
  • Elastic beading cord
  • A pair of scissors
  • Super Glue/E6000

Step 1: Break down the bracelet to its findings. You may also choose to add in findings of your choice.


Step 2:  Take 2 pieces of the stretchy cord about 30 cms in length. Push the cord through the holding wire off one end of the dial and tie into a triple knot. Add in a drop of instant glue to secure.


Step 3: Start putting in the bracelet findings in the reverse order and direction. 


Step 4: Continue beading in reverse while checking for the size that fits your wrists the best. 


Step 5: Tie to secure at the second holding wire or the first wire by going behind the dial. Add in a drop of instant glue at each knot.


Step 6: Flip over the dial and findings and voila! You have yourself a new extender bracelet watch!! Great to bling it up at NYE parties!


Cheers!
- JE

Saturday, July 19, 2014

DIY Faux Tribal Disc Bracelets

Its a happy time people - the sale season's here!! Intricate, beautiful items on my wishlist calling out temptingly at half price or lesser! I'm sure many of you do the Cart Dance as I do at this time of the year - add to cart, remove, ummm..NO!.. add to card again, remove again!

Now unless one is super-loaded or the Queen of England, one has to prioritize and decide what it most important/necessary to get this season. You know, to have money left over for food and all. Although, it is a very difficult choice! So kudos, to all of you out there who know what I'm talking about (Self-pat!).

Anyhow, kidding aside, I was doing my usual thing with these pretty bracelets and necklaces that seem to be everywhere now:


I'm so in love with the colors and patterns of these African tribal inspired pieces!

Now here's how can make a similar version of these with sequins you bought for sewing projects that didn't get used up!

What You'll Need:

  • Your favorite sequins - I had these iridescent pink ones - about 10 grams or even lesser
  • Elastic beading cord 
  • A pair of scissors


Step 1: Start by pushing the sequins through the cord.


Step 2: Continue pushing till the length of the stack sits around your writs comfortably.


Step 3: Double knot and seal with a drop of glue.


Step 4: This was the easy version - you can even play with the findings and add seed beads that pop out!


Or make memory wire clasp bracelets!


That's a whole bunch of sequins gone and new set of summer bracelets right there! :)

Enjoy!
-J


Thursday, July 10, 2014

DIY Faux Precious Rock Bangles

I've been swooning over delicate, semi-precious jewelry lately. Its so much fun to see how semi-precious gems can literally make any piece of jewelry look good. Add in a touch of gold to it and I'm hooked! Pretty stuff everywhere and not a thing to buy! (Damn you resolution :( )

And so I went through the usual routine, (You know the one - dig, dig, dig, surprise and AH-HA!) and found these cute rock beads that I had been saving for a while and decided to finally do something with them.Their pastel-y shades made the perfect compliment for delicate gold bangles. It was done a few days ago and has finally made it here.

Here's what you'll need to start with:

  • Memory wire - gold
  • Beading wire - gold
  • Beads of your choice
  • Beadcaps - 2 for each bead


Here's how you can do it:

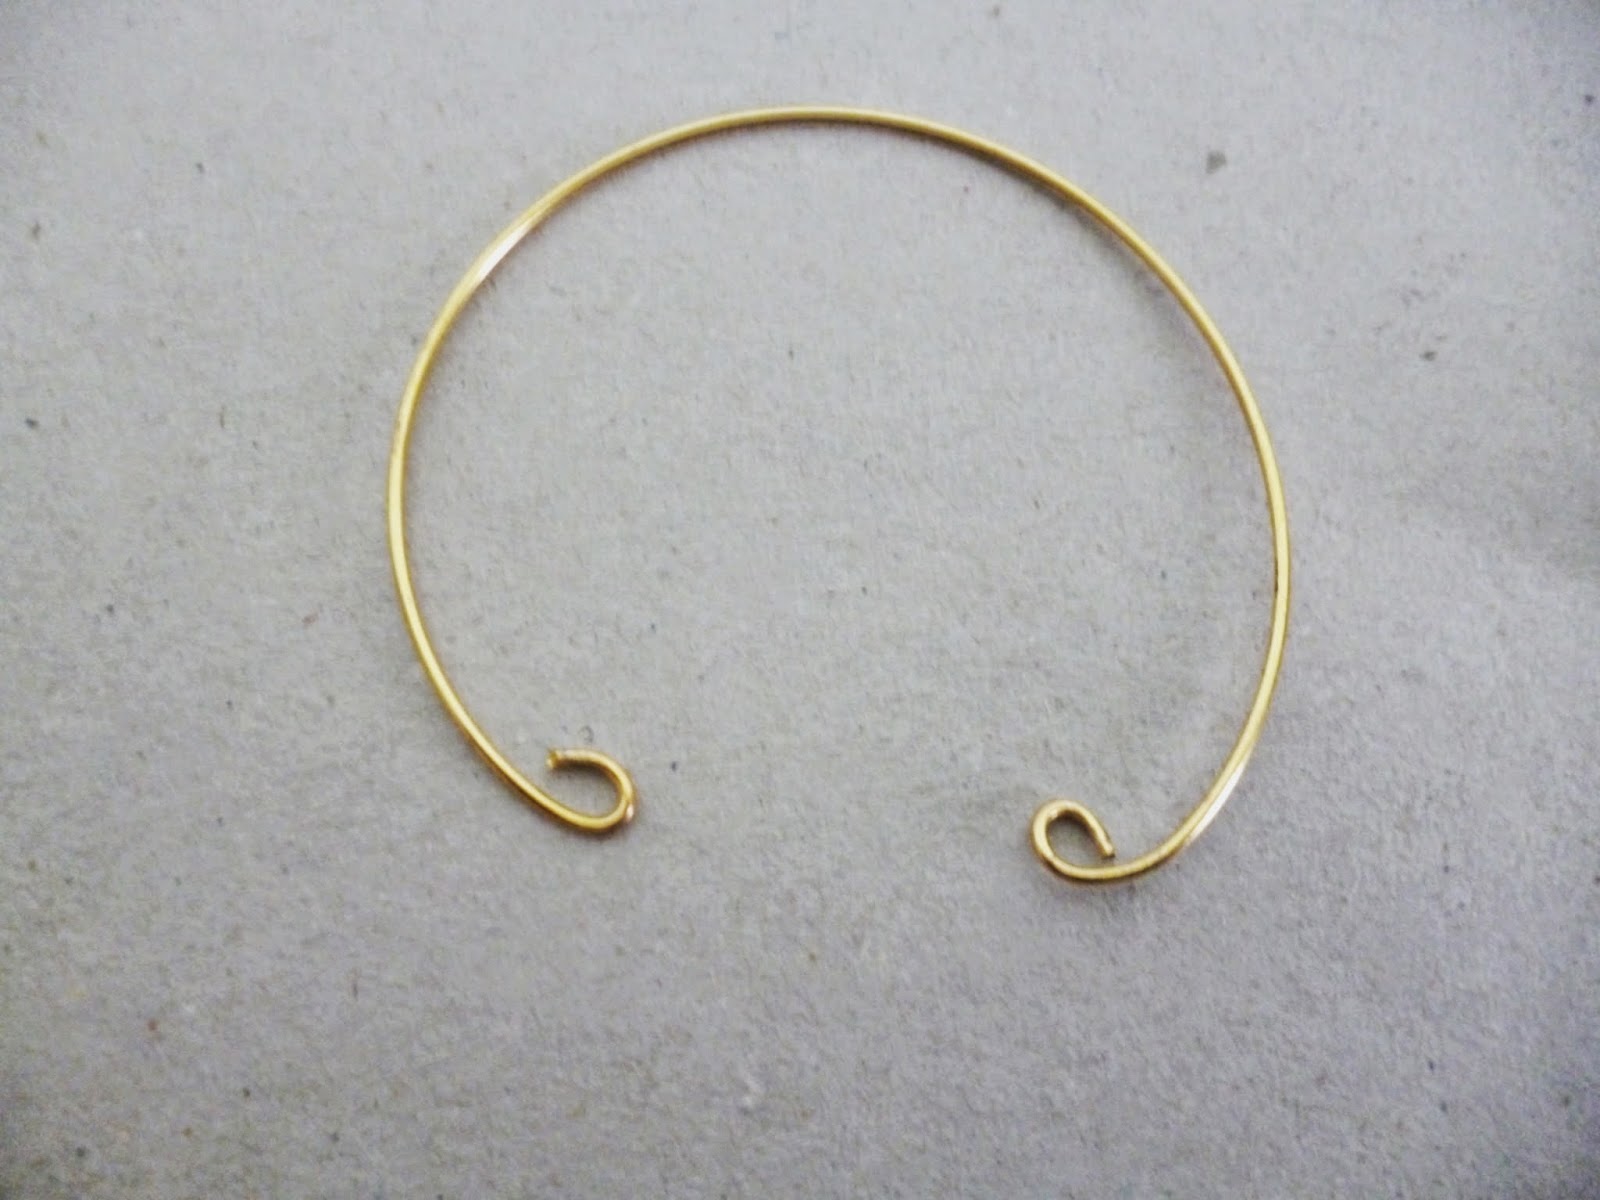
Step 1: Gently press the beadcaps over the ends of the bead and insert a length of wire through it.


Step 2: Now cut a sectional loop of the memory wire and bend it with small loops as shown.


Step 3: Twist the looped ends up and down, in opposite directions, till they lie flat on your wrist.


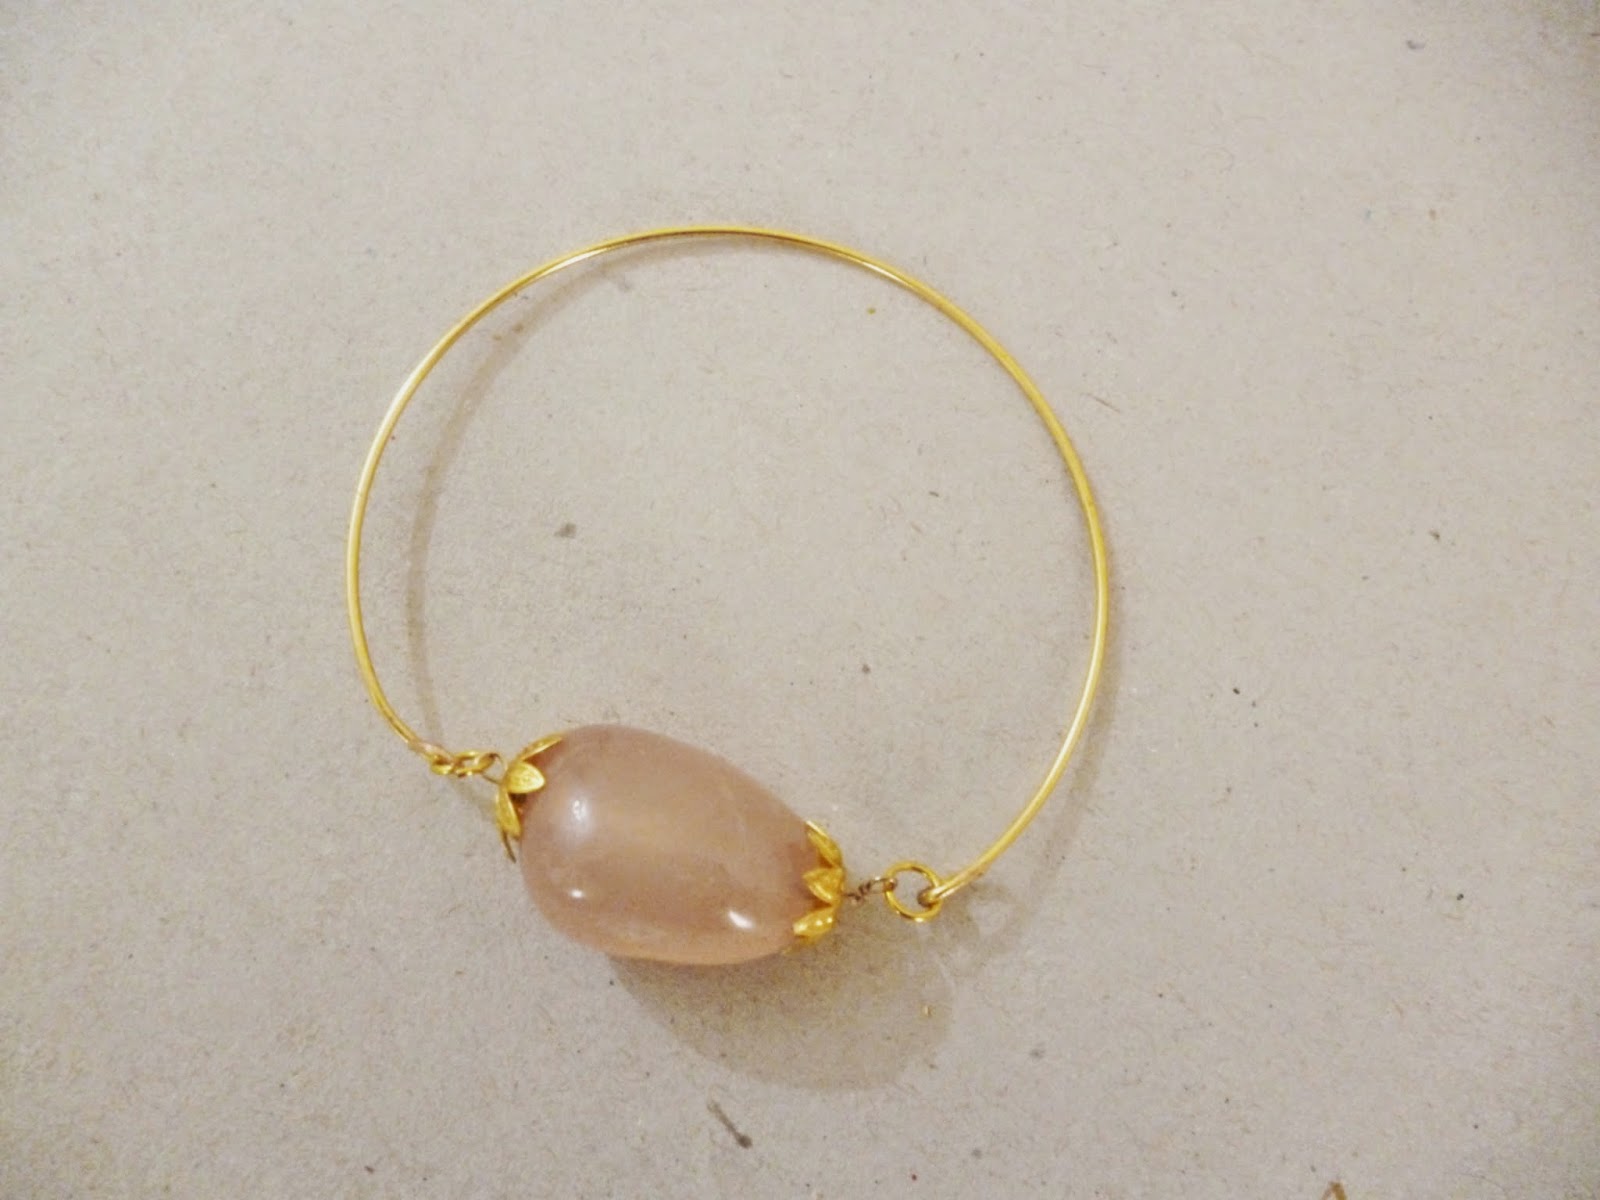
Step 4: Now there are two ways you can do this step. You can either directly wrap the beading wire into the bangle loops like this.


Or you can twist the wire upon itself and insert via jump rings like this. This method gives more flexibility to change your beads and bangle design later.

And voila, you have your rock bangle!


Do the same for the other beads and you have your stacking set :)


What say?


Sunday, July 6, 2014

Free Jewelry Giveaway | Announcing..The Etsy Sweepstakes!

Lately, I have been in a reflective state of mind. I have been trying to count my blessings and focus more on positive aspects of life. Its an intriguing activity to imbibe about in one's thoughts. For example, during this journey, one realizes how much difference a simple viewpoint shift can bring about. Could the advice our parents tried hard to impart, finally make sense? Perhaps the best things in life are simply the ones we are more thankful for?

In the spirit of appreciation, its been a while since we've had a giveaway on this blog folks! This time around, the giveaway is slightly different - Instead of selecting an item and posting it here for the sweeps, I'm gonna let YOU choose :)

Here are some of the pieces you can win (Oh yeah, you can get more than one ;))


All you have to do is enter the Rafflecopter giveaway below - and you stand a chance to win a $30 Gift Certificate from the Jade Eclectic Etsy Shop, for any product(s) of your choice. I'll even throw in Free Shipping!


You can check out the full Etsy shop here @ https://www.etsy.com/shop/JadeEclectic 

Enter away !!

a Rafflecopter giveaway

Thursday, July 3, 2014

DIY Spiked Bracelets

I've been feeling a little under the weather lately. While I'm not able to work on a latest idea sets, I do have something I made a while ago - thought of sharing it with you all now. As you know, I've been digging the edgy fashion bits now a days, so here goes.

What you'll need:

  • Colored beads (I had a bunch of wooden ones that I'd been carrying for years!)
  • Some gold spacer beads (optional - see last picture)
  • Spike charms (Taken off an old necklace)
  • Elastic beading cord - Clear
  • Gold jump rings
  • Glue


Step 1: Measure a piece of cord around your wrist. Add about 2 inches to this and cut out the cord. Start beading the cord.


Step 2: Fill up the cord about your wrist size with beads.


Step 3: Insert a jump ring through the spike charm and add it to the cord.


Step 4: Tie a double knot and seal with a drop of glue.


And its done! 


You can do multicolored versions...


Or even do with gold spacer beads for an interesting effect!


Tuesday, June 10, 2014

DIY Jewelry Recycle Series : Part 6 - Watch Strap Cuff

I've been saving a couple of old watch straps for ages, forever thinking about things I could do with them. It wasn't until I saw this watch strap cuff here at ASOS that I thought, "Bingo!". Though inexpensive, its such a cool way to use up those pesky leftover watch straps! Don't ask me how I ended up with them in the first place, I hope you'll see soon. :)

Here's my inspiration:


Now, here's what you'll need to make your own version:
  •  A couple of metallic bangles (I used an old pair)
  • A watch strap
  • Super - Glue (or E6000)
  • Heavy Duty pliers


Step 1: Cut off the watch clasps using the plier. This step is going to take some effort unless you have an extra pair of helping hands.


Step 2: With the pliers cut the bangles at their joint.


Step 3: Create about an inch gap in the bangles.


Step 4: Put a thin line of glue on one of the bangles and gently place the other one on top of it. Wait to dry.


Step 5: Start attaching the smaller watch strap first. Once semi-dry, turn the bangle over and put another few drops of glue to seal from the back.


Step 6: Glue on the longer strap in the same fashion.


And your watch cuff is ready. Sand the edges a little if required.


Great for layering with other bangles!