
Hello Lovelies! Hope you doing great in the year 2016!
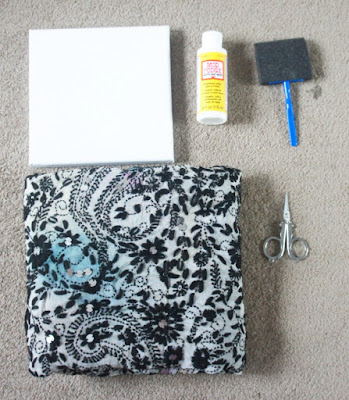
Here's what you need:


While life has been happening as it does, I've been into a lot of DIY projects too, especially those with local influences. In order to not stick to my current annual schedule of posting, I want to get to sharing recent projects with you all right away. :)
While I have become somewhat a pro at moving locally, the move across countries has been a whole other story. It is exciting for so many reasons least of all being a complete overhaul to one's DIY ideas and opportunities!
So, today we are going to talk about how one can put some life in those boring blank corners of the home you so cherish, when one is neither particularly inclined to be indulgent with time or money - especially when one has a stash of beautiful, sentimentally valued, fabric that was partially ruined in the Great First Floor Flood of 2015 (Another story for another day!).
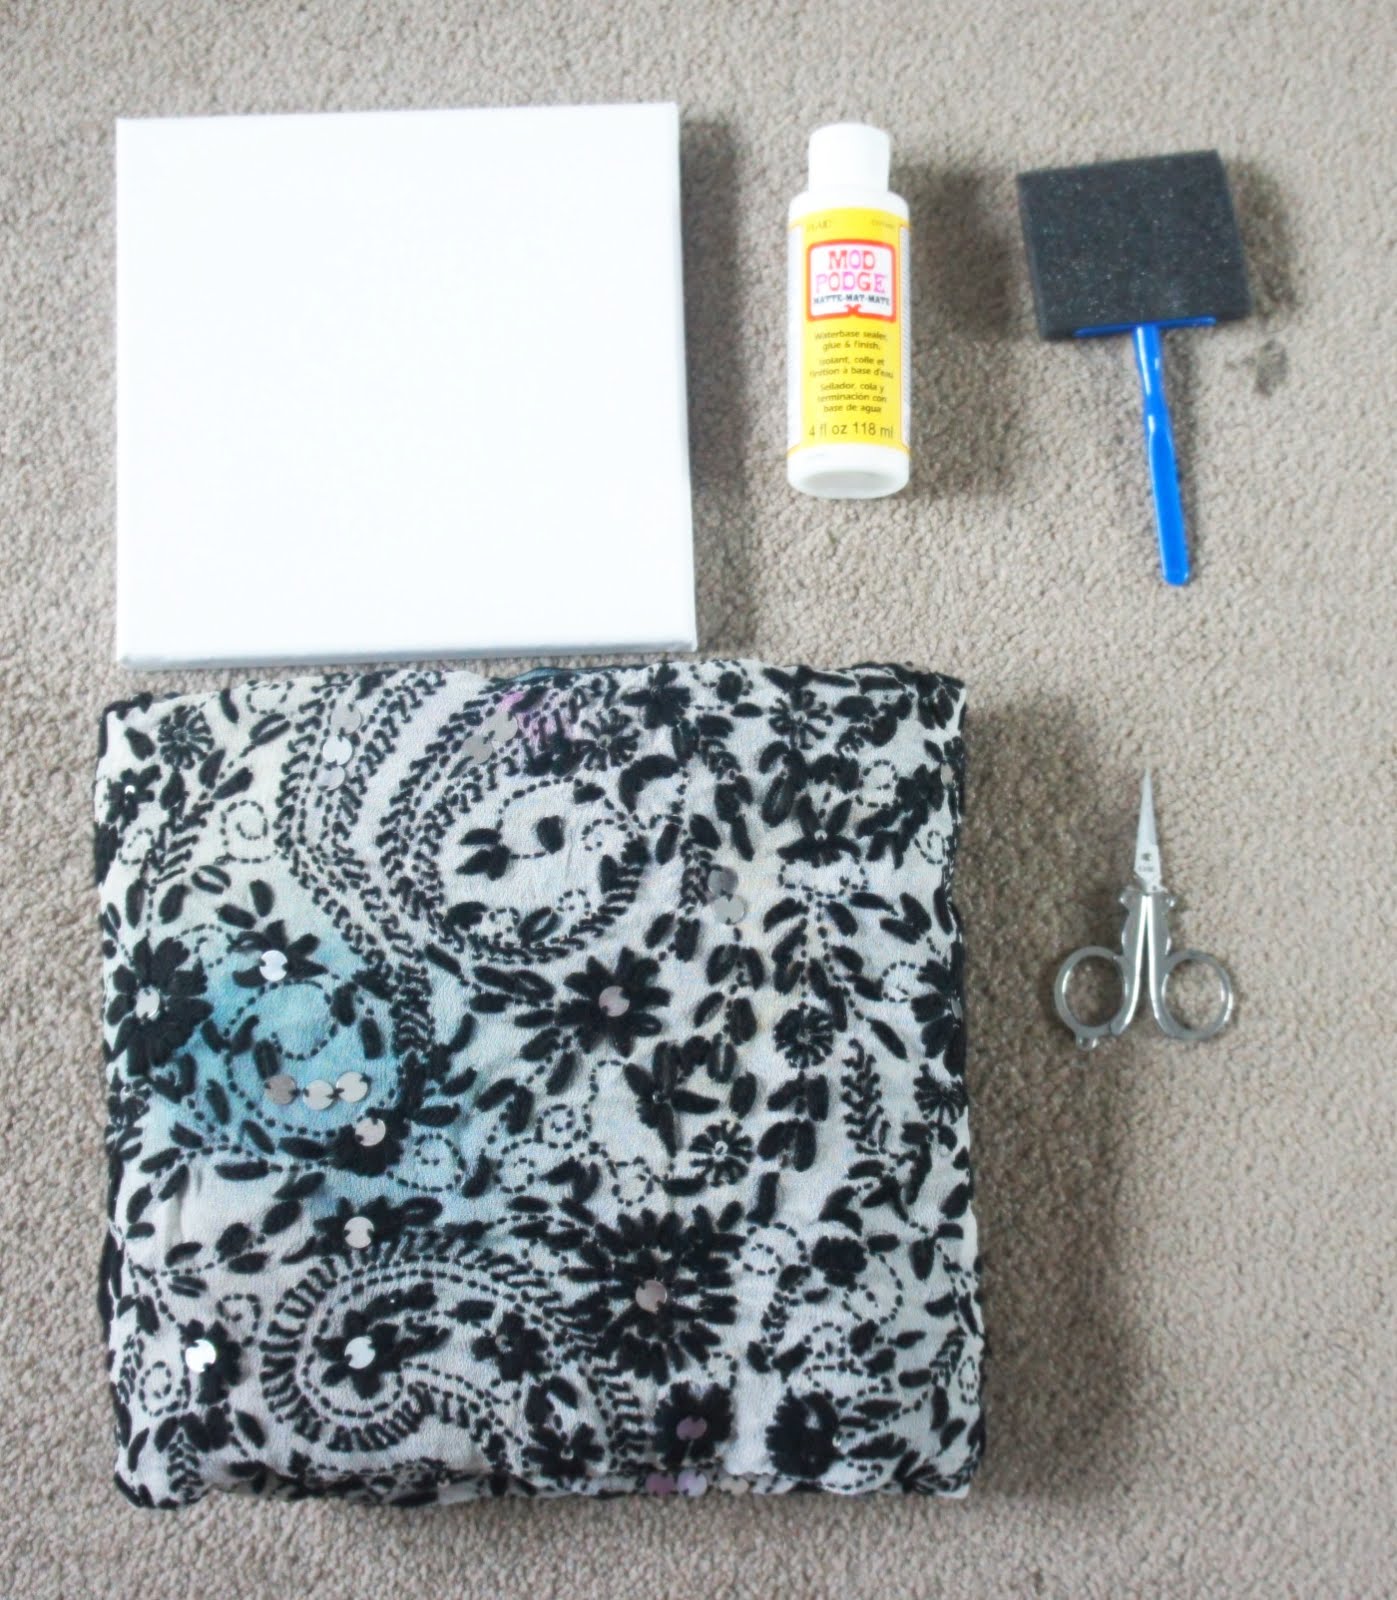
Here's what you need:
- A blank canvas (any size)
- A beautiful piece of embroidered fabric (Can you see the ruined blue patches?)
- Mod Podge Matte, or any decoupage glue of your choice
- A foam brush
- A sharp pair of scissors
- Chalk paint (optional)
Step 1: Cut a piece out of the good fabric portion around the canvas, leaving a margin of about an inch

Step 2: Cut the corners of the fabric square diagonally for an inch, up till you reach the canvas. Ensure that the fabric is laid as flat as possible before you do this

Step 3: Apply a thin, even layer of Mod Podge across the canvas. If you like your canvas to be fully covered, apply on sides at this point too. Else, exclude sides.

Step 4: Pull the fabric slightly taut and lay it flat on top of the canvas after about one minute of applying the glue.Press lightly on the fabric to ensure you get a even "stick".

Step 5: Without waiting for it to dry completely, apply another layer of Mod Podge on top of the fabric and press evenly down. Wait up till completely dry i.e when the glue becomes clear.

Step 6: Now cut the fabric at the edges of the canvas in a straight line and remove any extra threads that hang out due to the embroidery. Glue down the edges if required.

Step 7: Apply two layers of the chalk paint of your choice all around the edges and let dry, This could be a really fun step with contrasting or even neon paints up the sides of the canvas for accented decor!

Step 8: Apply a final layer of Mod Podge all over and let dry completely. Hang to please!


Cheers
-JE


